
I’ve been thinking about this for quite a while – in various threads in my brain. What if you want to simulate the way we used to photograph, but with your digital camera? What must we adjust to simulate, say, film photography on our DSLR? What if you want to go back in time to the dark ages of photography – 1960? Spoiler alert – you may not like it.
Well, the first thing would probably be to set your camera to M – or manual mode.
Second, you want to make sure you don’t have any kind of auto ISO enabled. And there will be no changing of ISO in the middle of a shoot! And, you’ll want to limit your ISO to maybe 1600 max (and that’s generous).
Third, you want to turn off your auto white balance, and set it for daylight, or tungsten light. Like ISO, you won’t be changing this mid-shoot either.
Fourth, you’ll probably want to disable auto focus, and set that to manual, if possible (or use an old lens, as I mention below).
Now you’re close to what it might have been like to take photographs in 1960.
Next, put a piece of duct tape over the screen on your camera (well, maybe not duct tape – just promise you won’t look until you load the images on your computer – and, just to be as accurate as possible, don’t load on your computer for a week or 2). Turning off the automatic reviewing of each shot is a good idea anyway – it’s just distracting.
You may also want to change the metering mode on your camera to center weighted averaging – since the more modern methods (like matrix metering) weren’t invented yet. Or, you might just want to ignore your meter completely, since many cameras in 1960 might not have had a meter. You can set your exposure by memory – or by looking at the little chart that came with the film. At ISO 400, in sunny conditions, use 1/500th of a second at f/22 – if it’s cloudy, 1/500th at f/8. Here’s an example of one such chart for Kodak Tri-X film.
You can focus manually with your digital camera’s lens. If you want to be more authentic, get an adapter and an old lens. I’ll be using one of my old lenses with an adapter for this experiment (yes, I’m going to do this too – I’m not just proposing it for you to do).
You probably want to make one more setting. Change your camera to black and white only if possible – not color, because in 1960, there was color film (there had been for a while) but it wasn’t that common for people to use it. Color was not great back then, and it was expensive, and tended to fade and change color easily. So I’d say you’re probably shooting only black and white.
There, now you’re taking photos like most people did in 1960. Have fun, and I forgot to mention, you probably only have 12 shots (20 if you’re lucky to be able to afford that large of a roll of film).
Here are some of my shots with my Canon EOS R and Olympus Zuiko 50mm f/1.8 lens. All black and white, of course. ASA 400. White balance set to daylight.
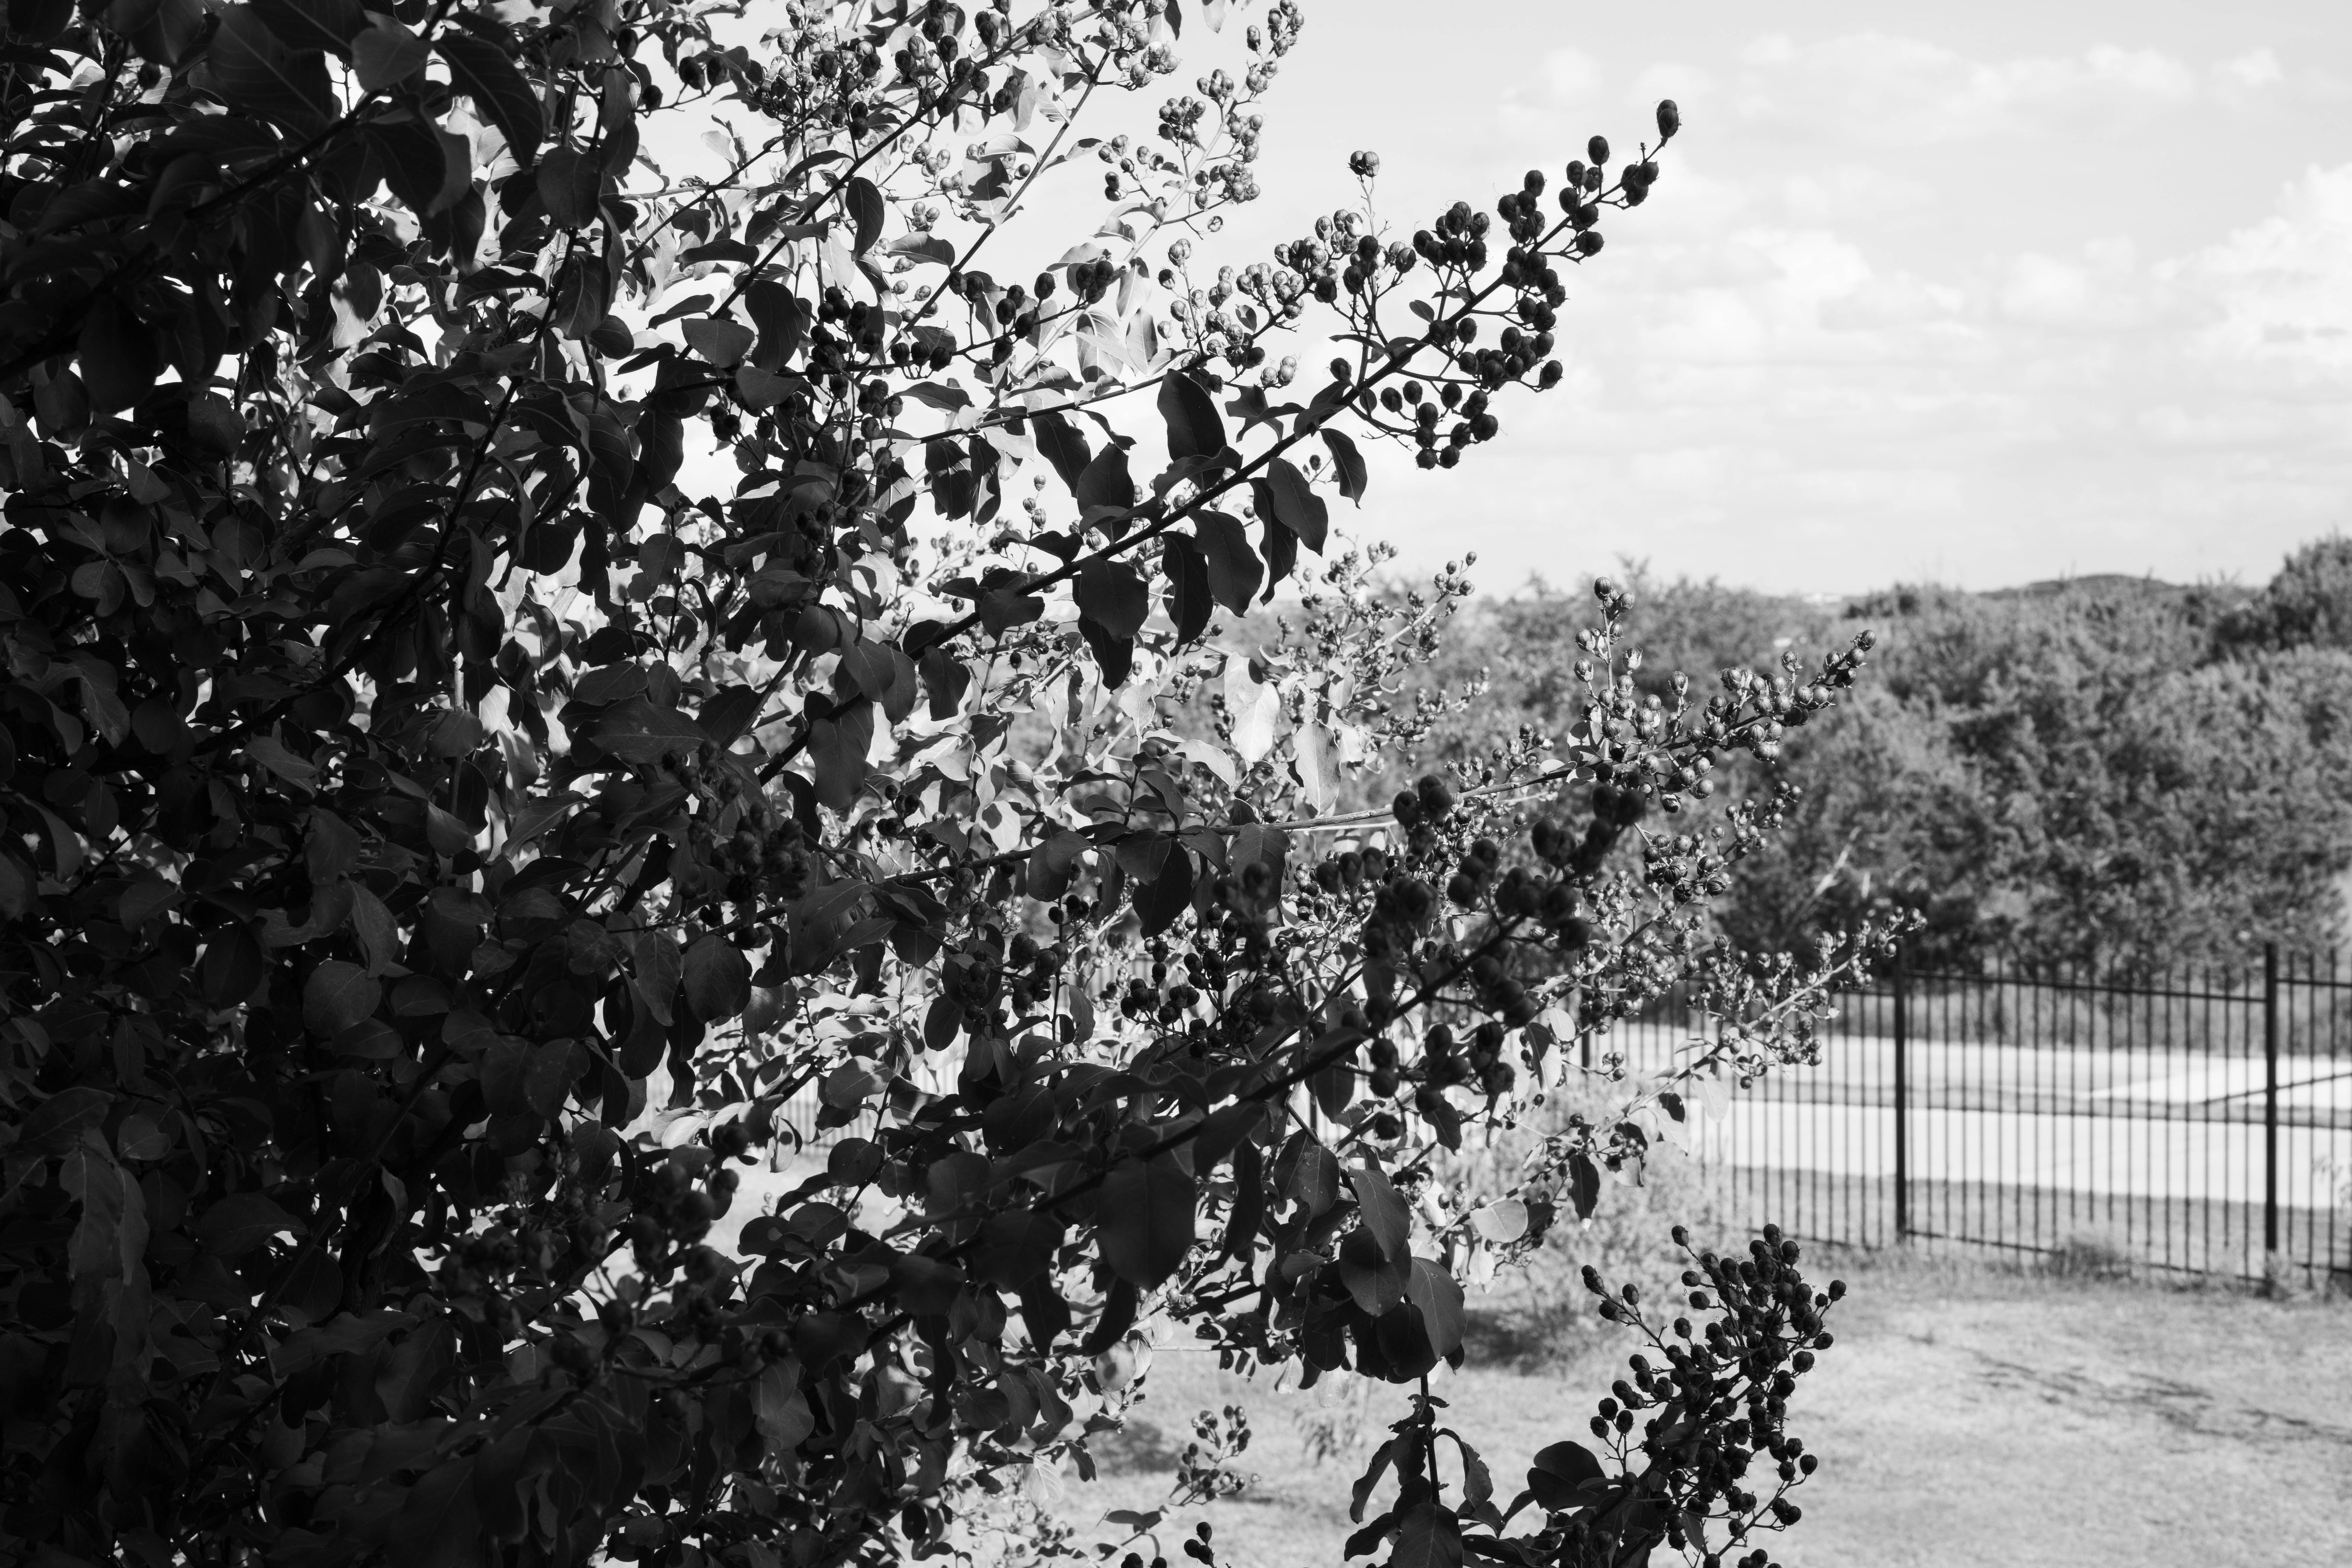
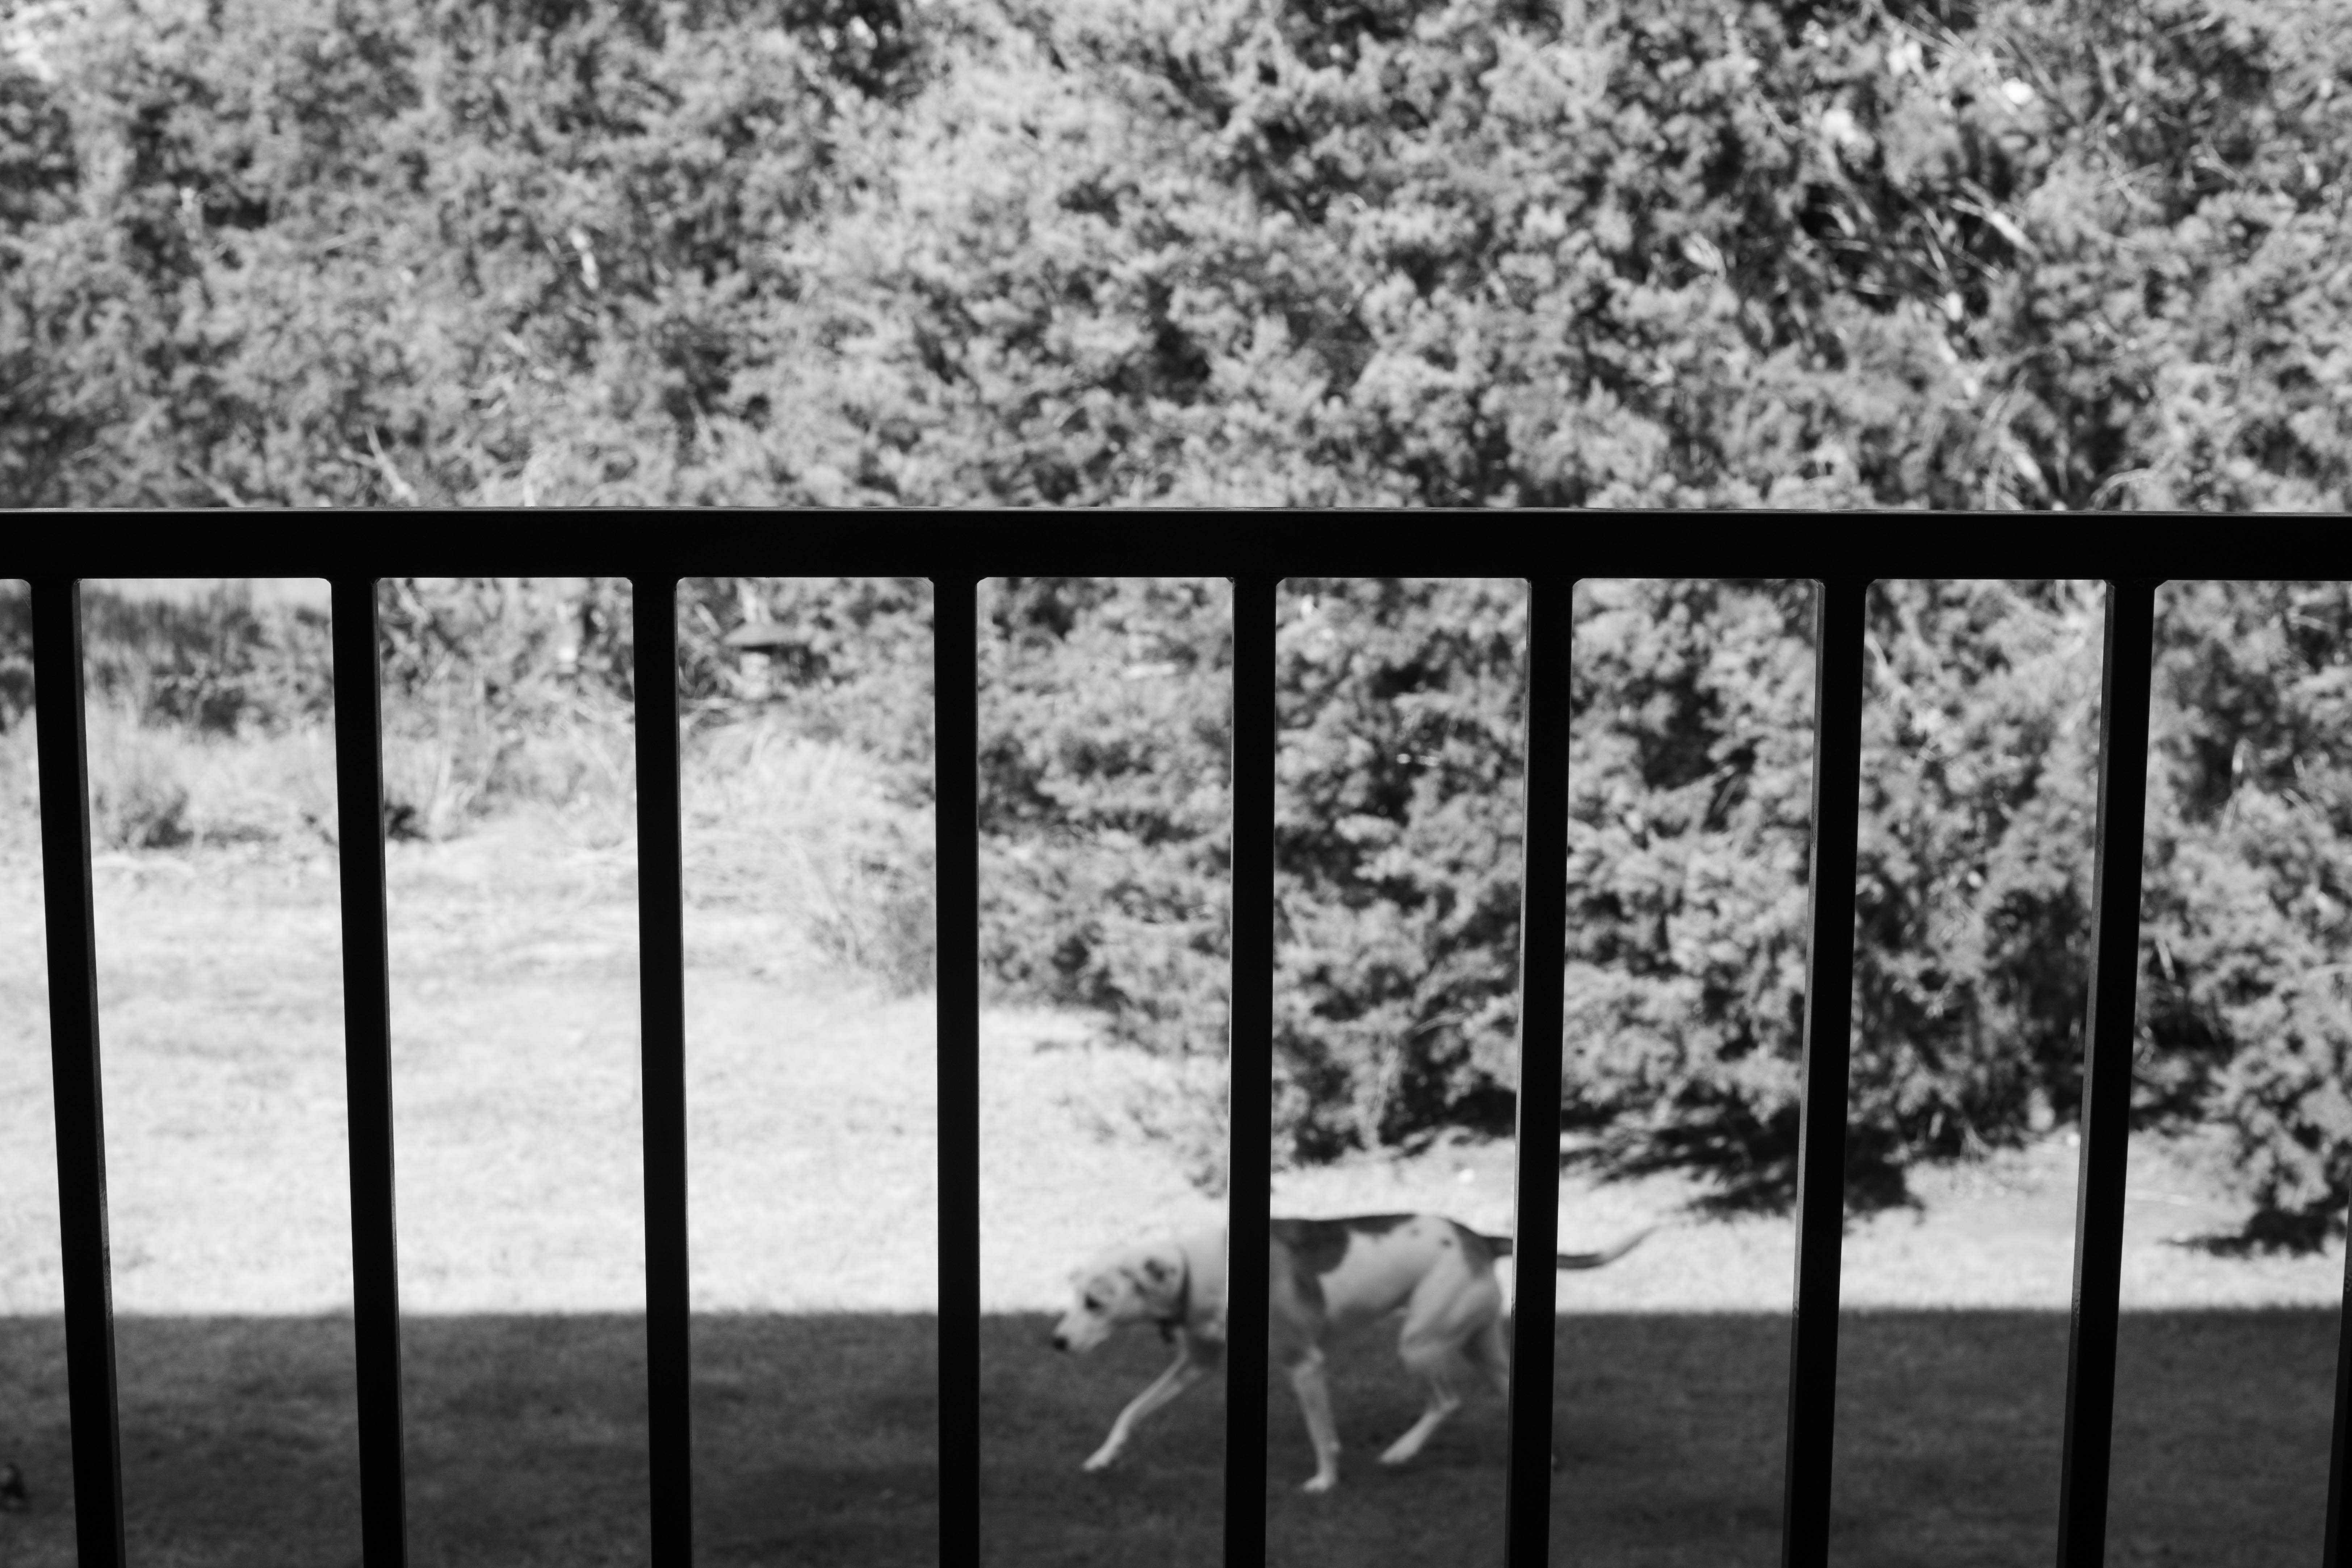
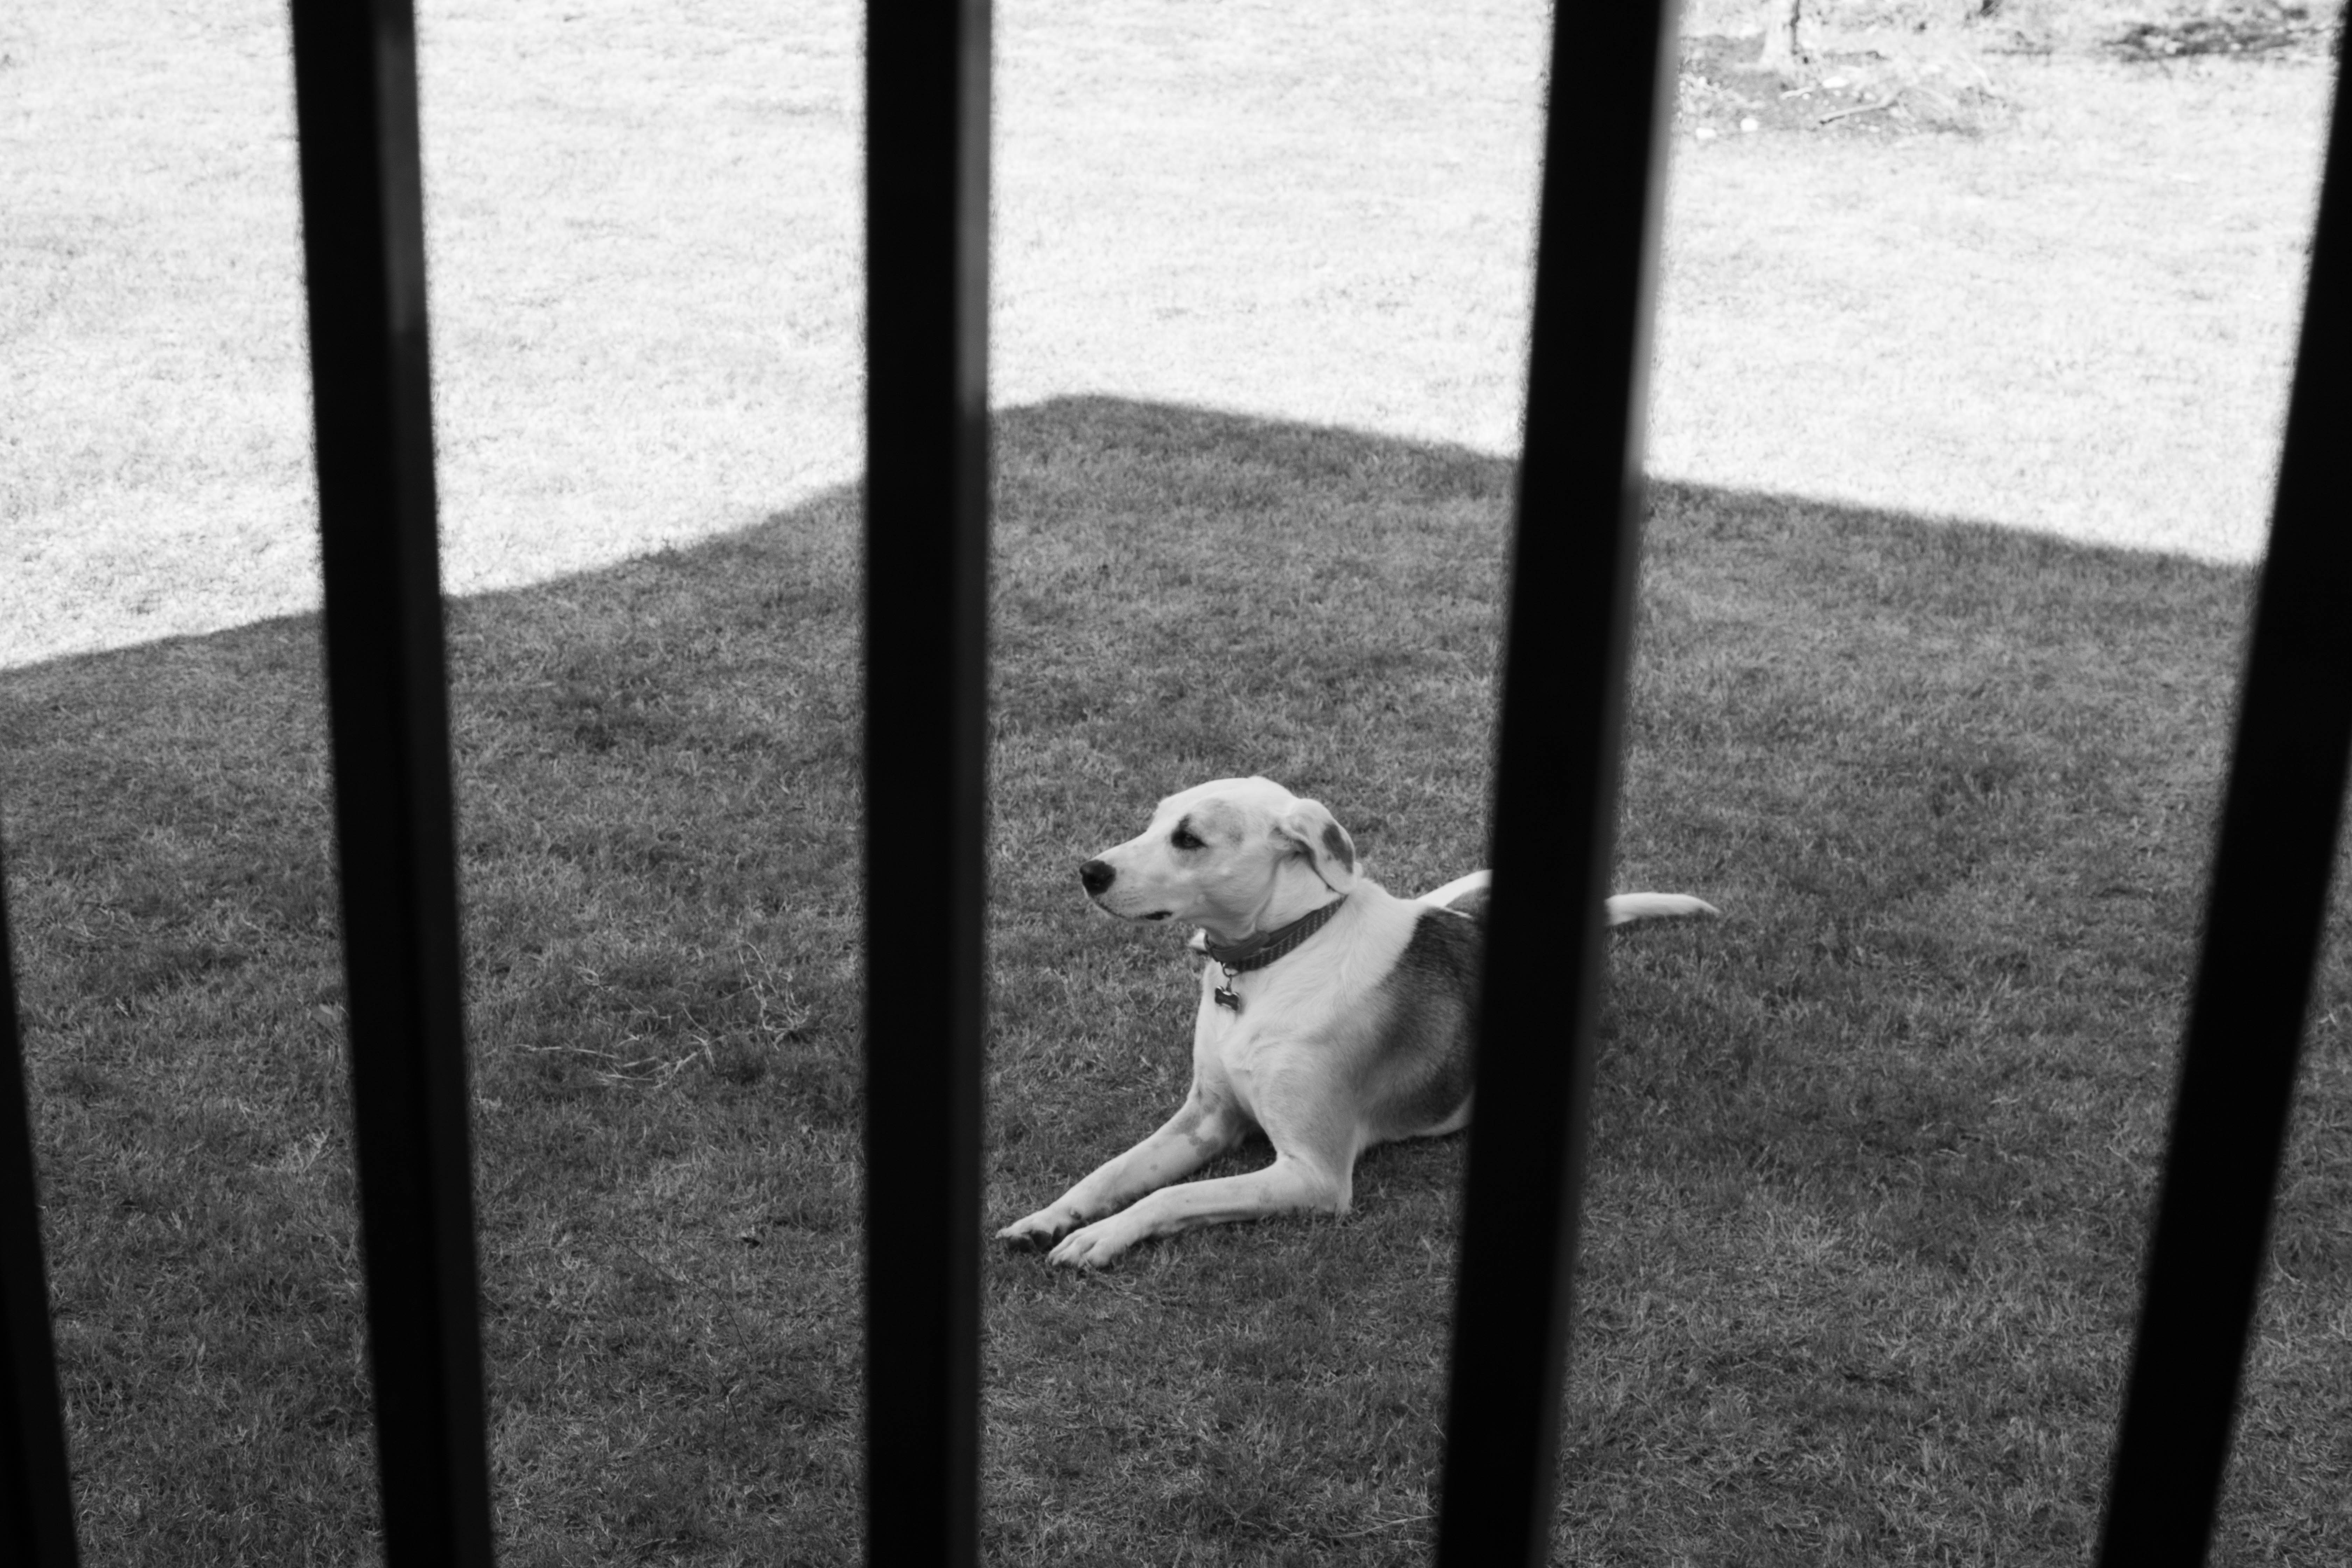


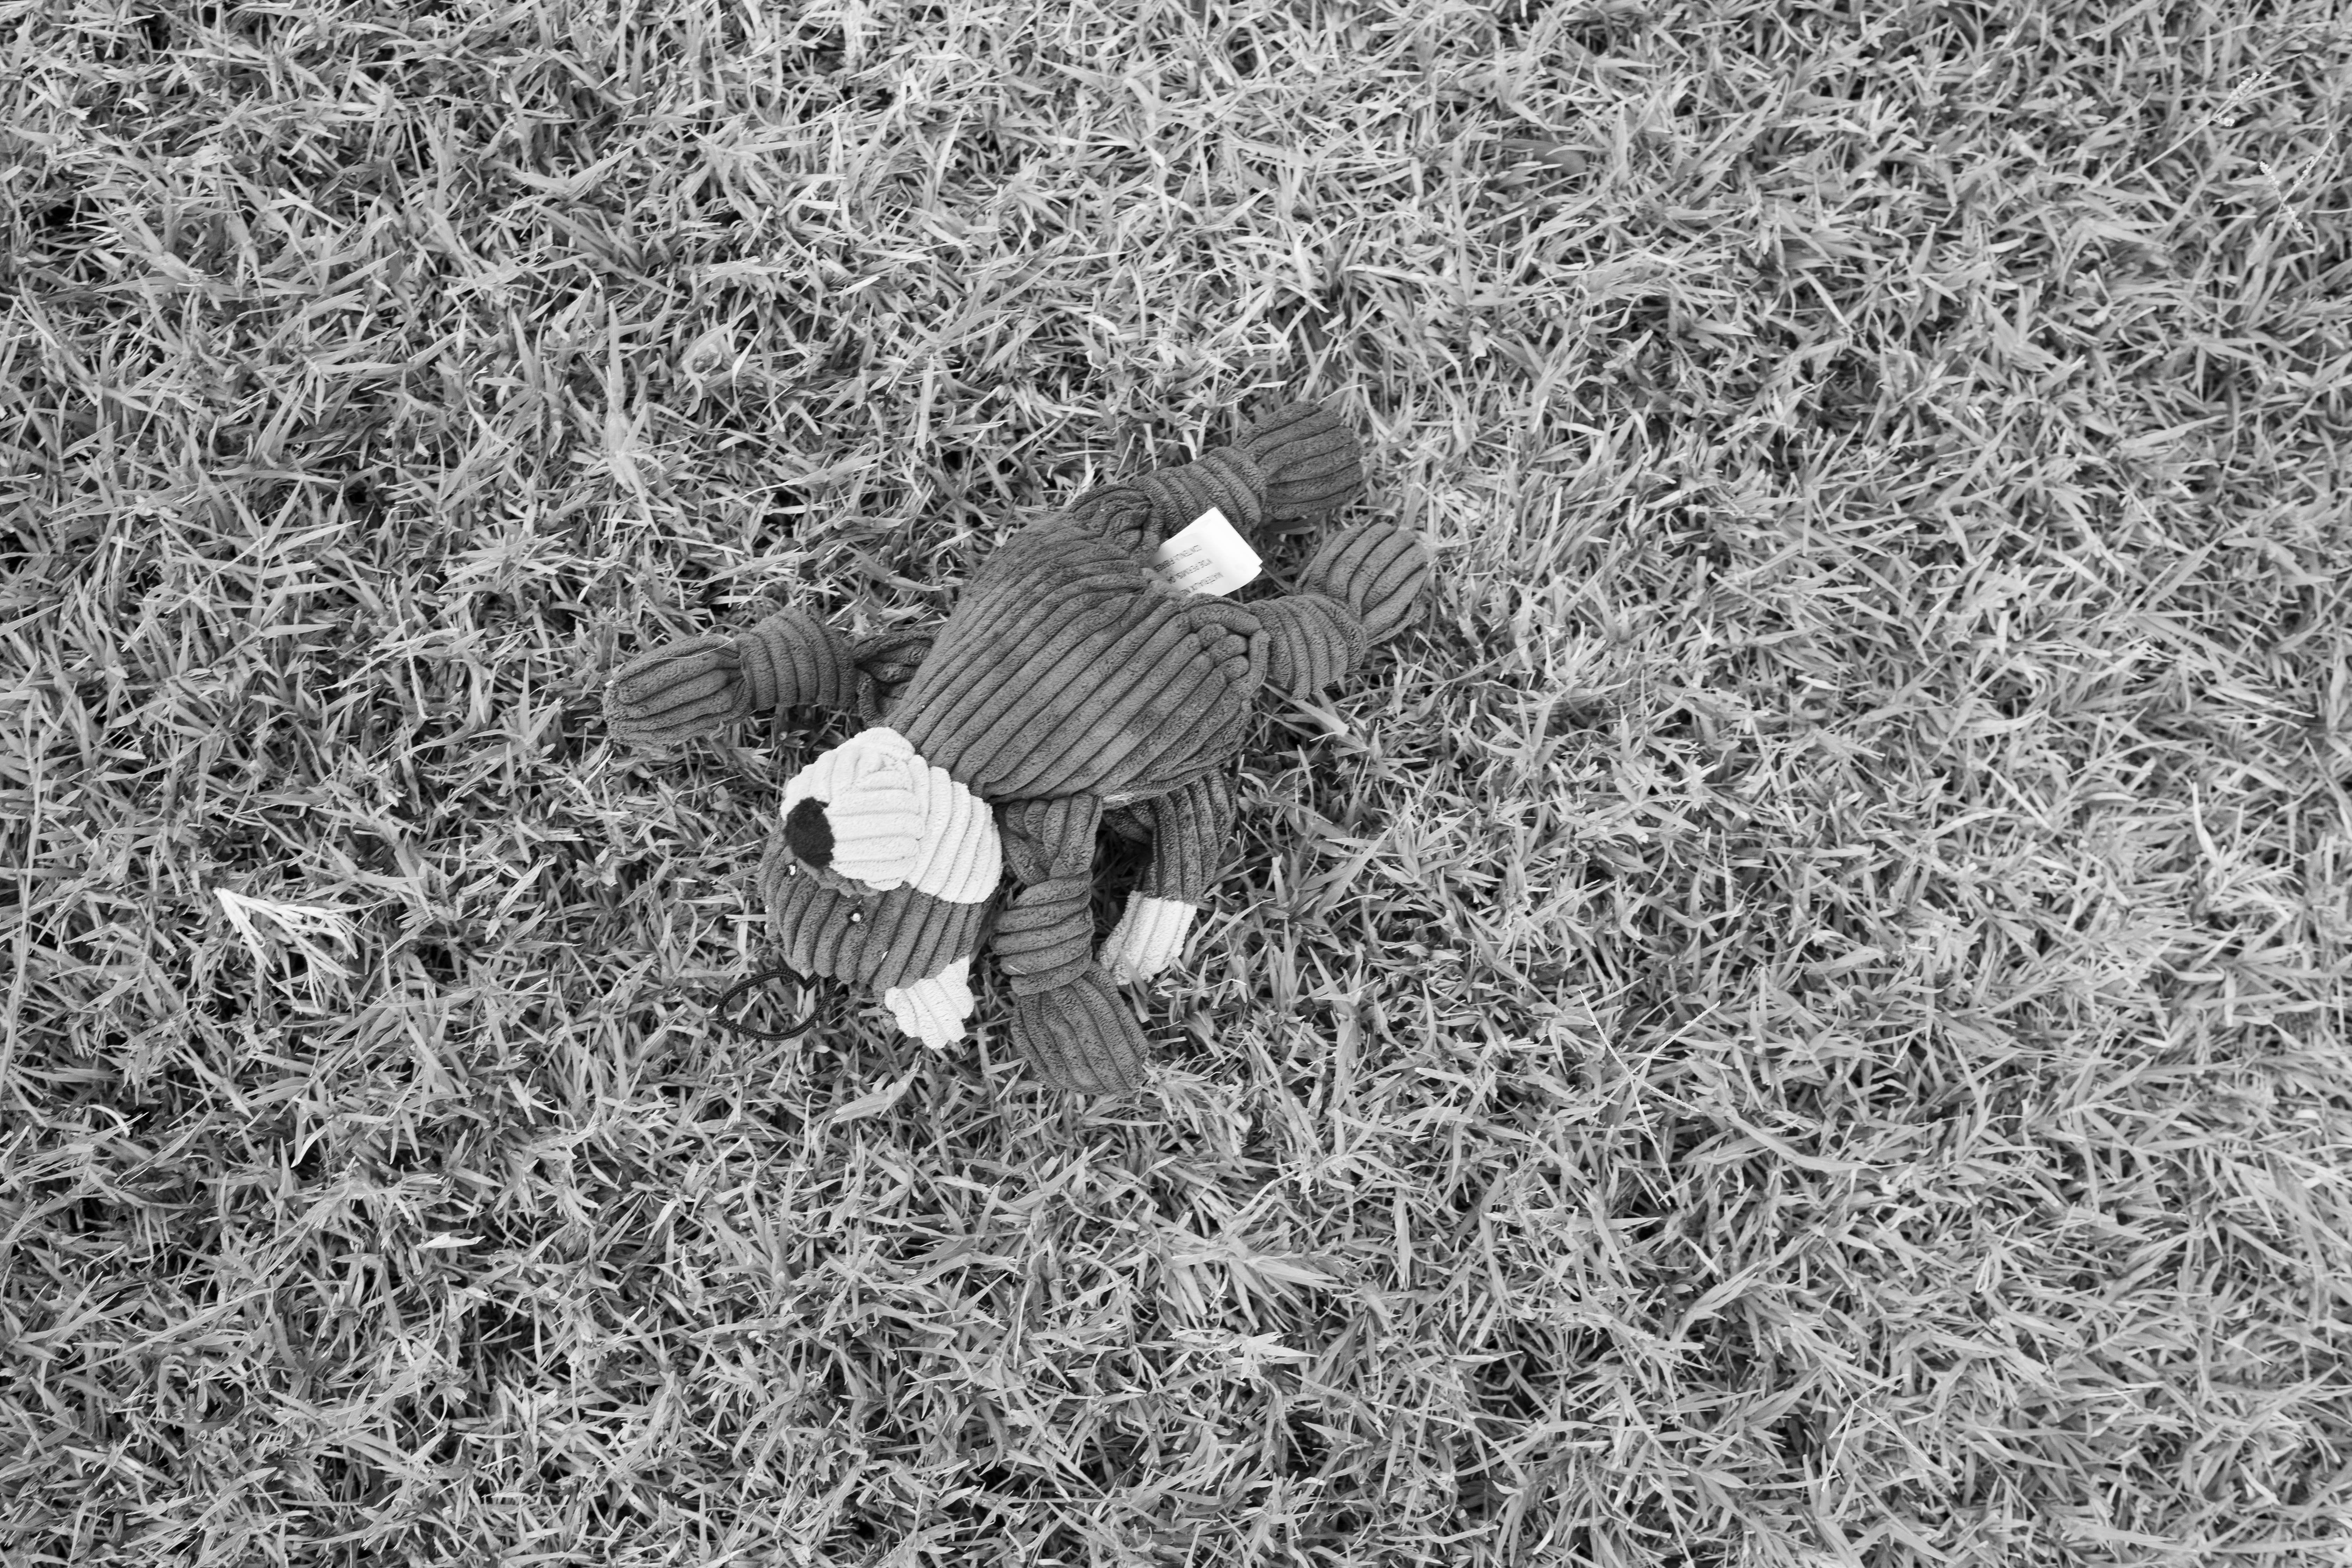
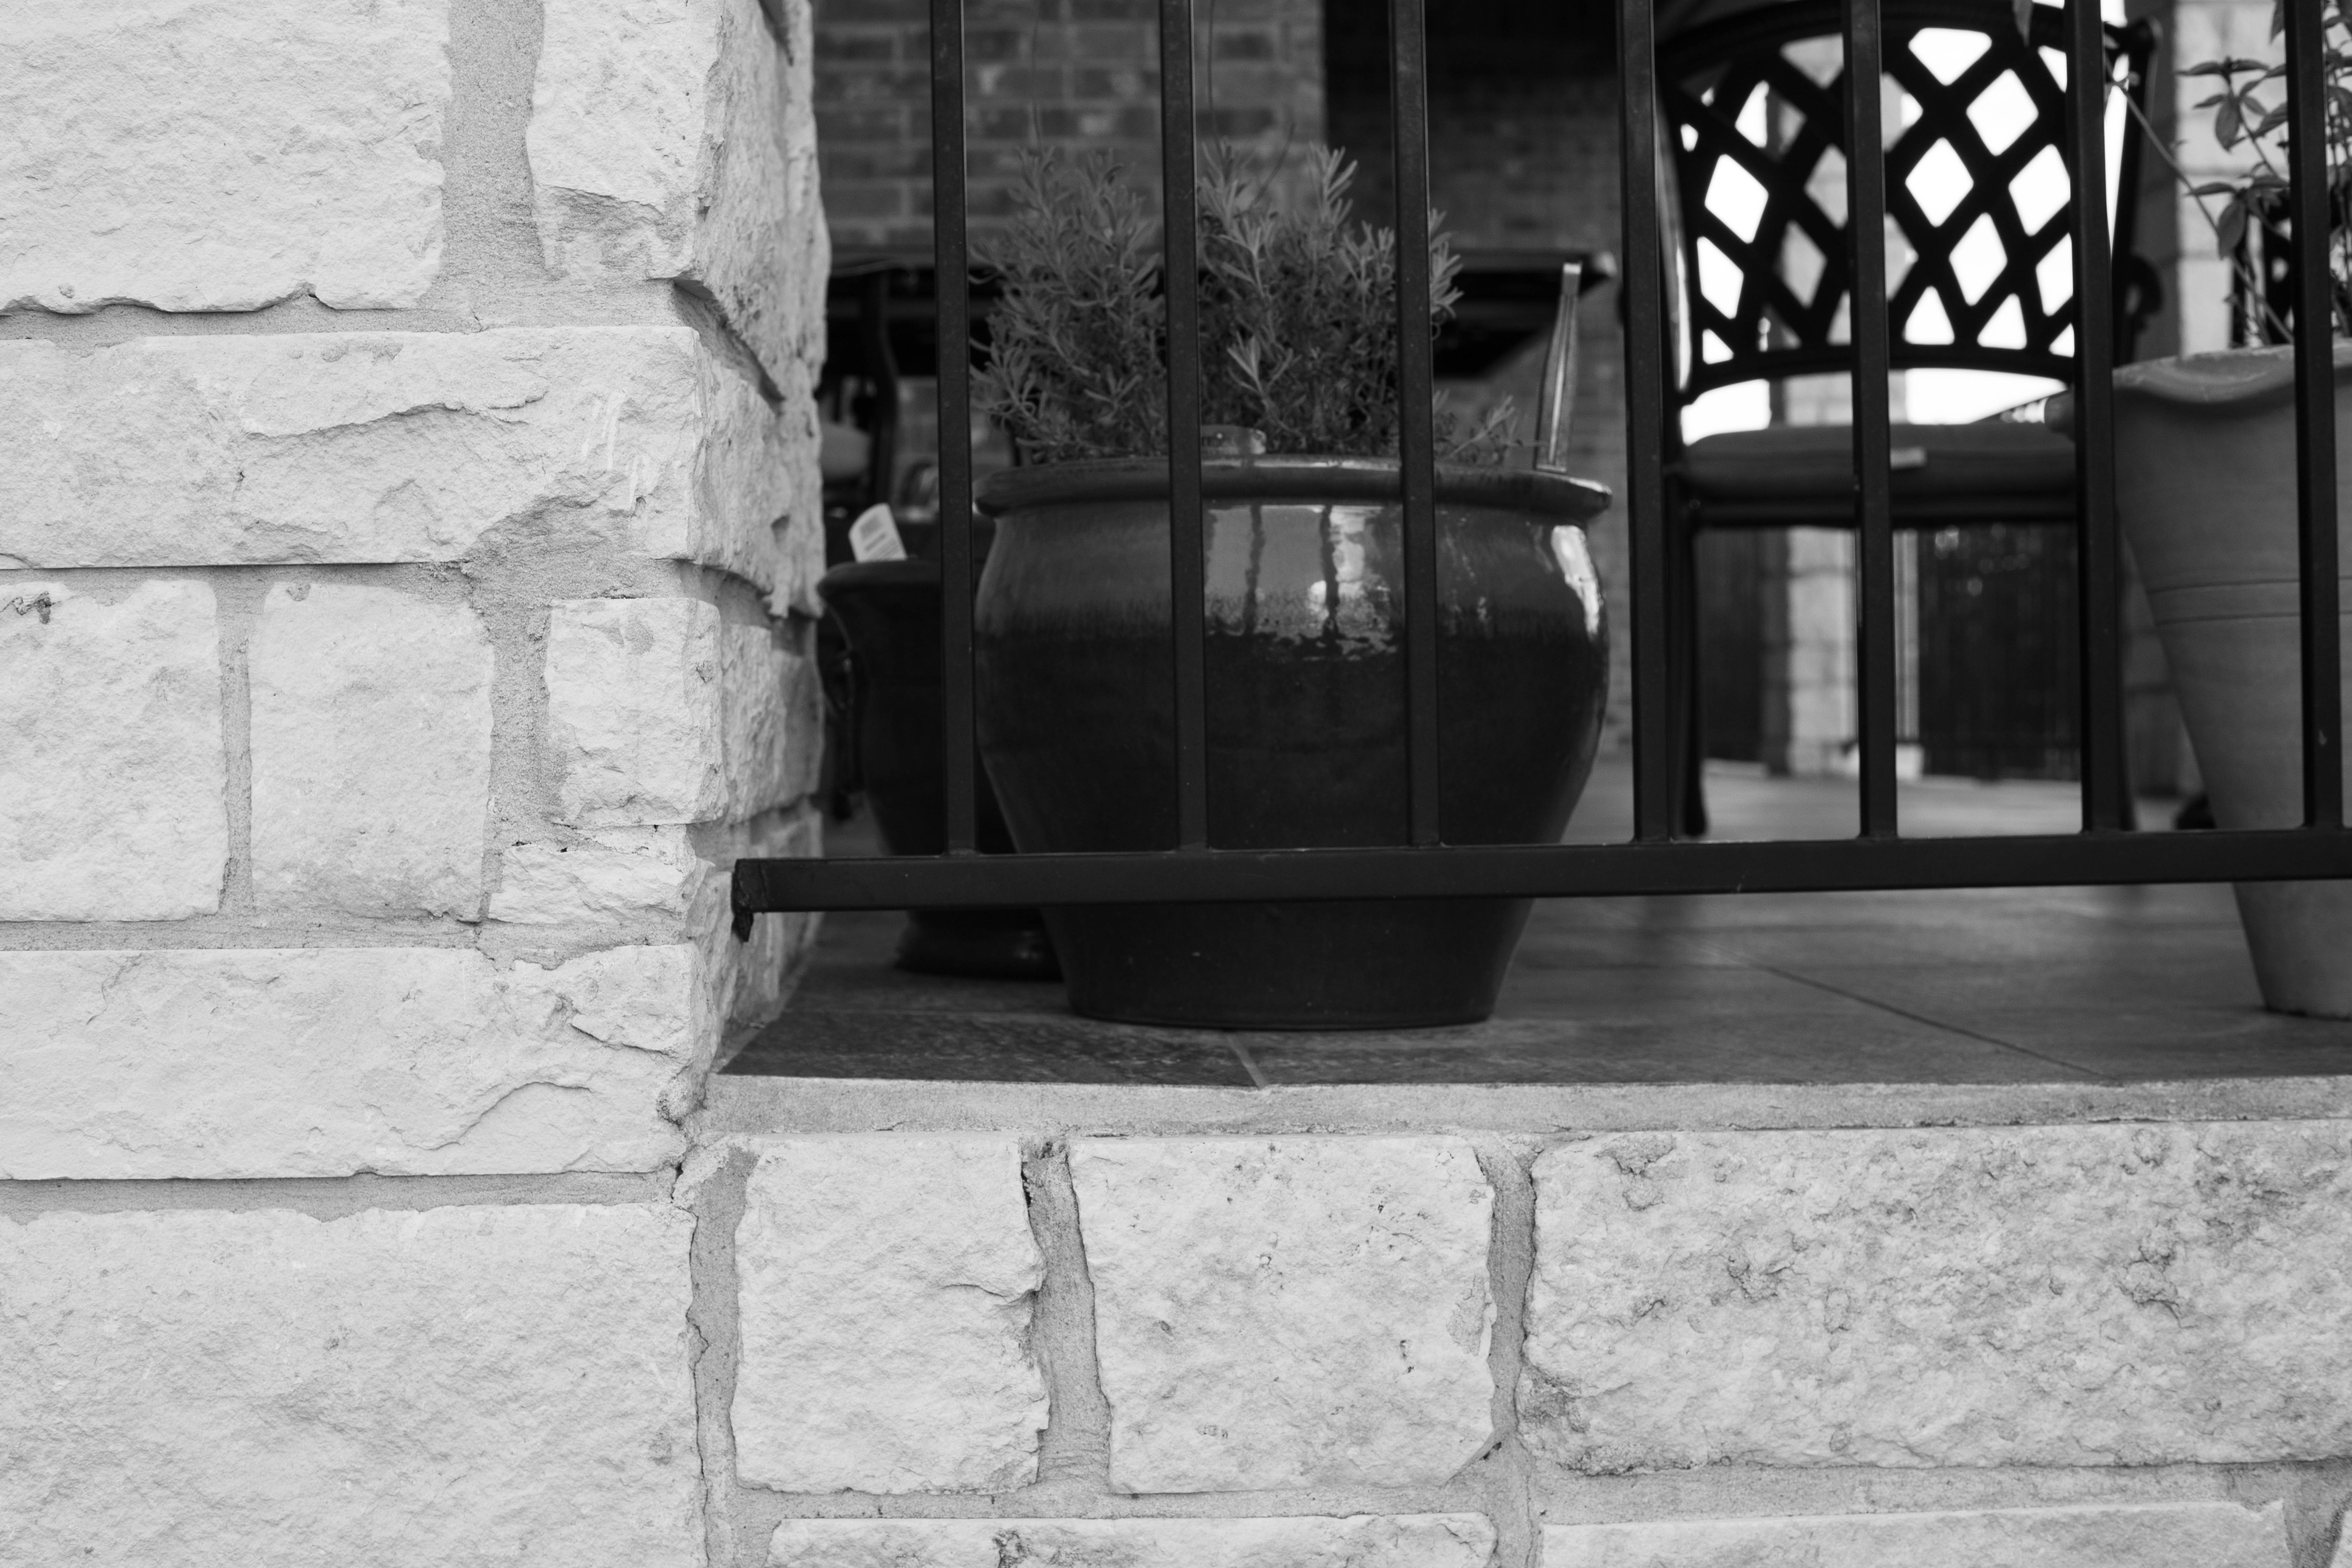
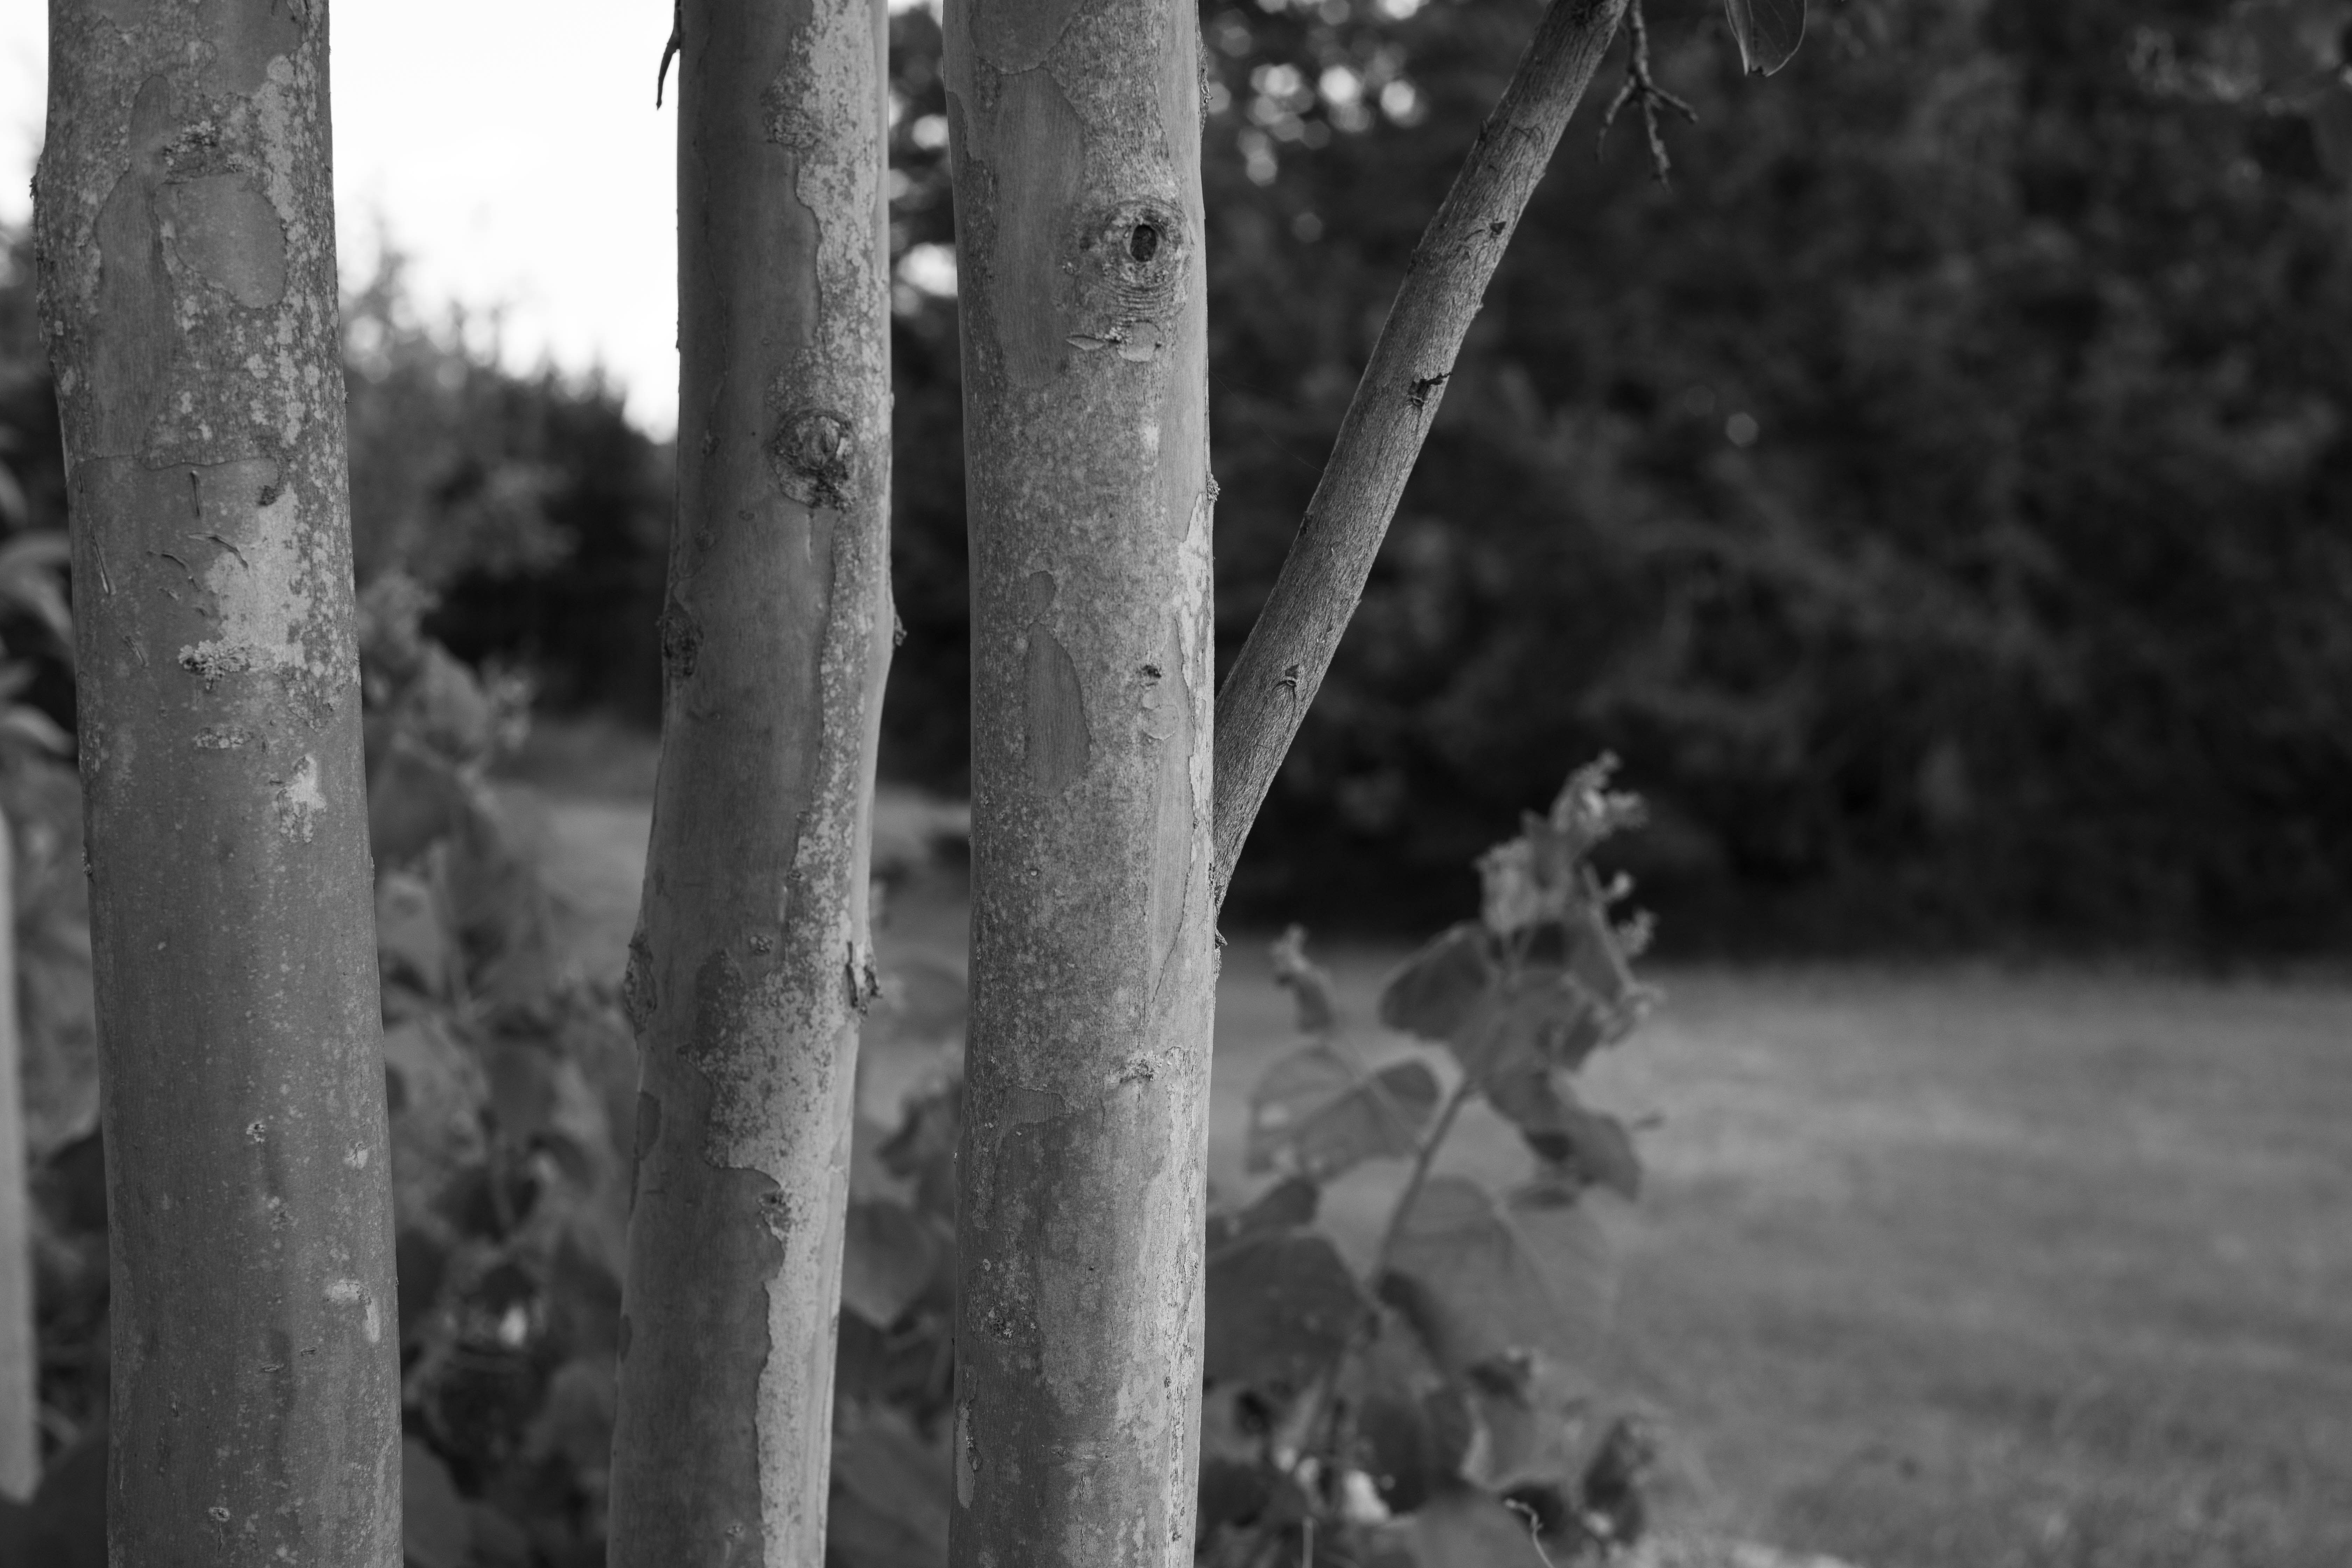


I think the bokeh looks nice in most of these photos, especially last pumpkin shot. Otherwise it’s not easy to tell that I’m using a 40+ year old lens. Exposure was generally good – using the cameras meter (even in stopped down mode) was very simple. I need to use a handheld meter, and not use the camera’s meter at all. Another thing I should note, the EOS R, being a mirrorless camera, has exposure simulation, and reviewing of photos in the viewfinder. The simulation is difficult to completely disable, and I did cheat a few times by reviewing my images to be sure my exposure was good.
So… even though it’s possible to simulate photography from 50 years ago with out new, digital cameras, I think I’ll stick to just using my old cameras instead.

You must be logged in to post a comment.